FOR GRAFFITI FANS
Graffiti as a form of art in its modern form first appeared at the beginning of 20th century, but its origins go back long ago when the first men expressed their artistic talents on cave walls.
Either graffiti is a work of art or mere vandalism, this question has no definite answer. Some graffiti have an artistic value and an idea behind them; others are a waste of paint and unsightly damage to state and private property.
In this tutorial we will show you how to make graffiti on any wall without running the risk of being fined.
The image below has been taken from the internet. We do not know the author personally, but we hope he will not mind.
We used AKVIS Chameleon plugin in Adobe Photoshop, but you can use any other photo editor compatible with the Chameleon plugin.
 | 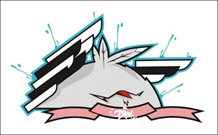 |  |
- Step 1. Open the graffiti image in your photo editor.

- Step 2. Make a precise selection of the fragment. In this case the graffiti design has a difficult form, but the background is homogeneous. It’s easier to delete the background than to select the object.In Adobe Photoshop you can use Magic Eraser Tool
 . Select it from the Toolbar and left click on the background around the chicken and between the wings and feathers. The background will be removed.
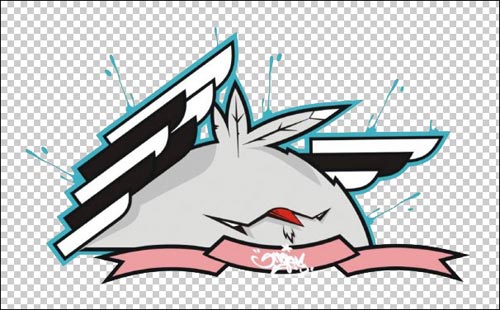 Now select the fragment. For quick selection click on the layer icon in the Layers palette keeping theCtrl-key (
 on Macintosh) pressed.
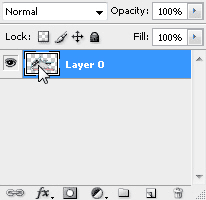
"Layers" palette Select the command Filter –> AKVIS –> Chameleon – Grab Fragment in the main menu. You’ll see a message that the selected object has been saved into the clipboard.
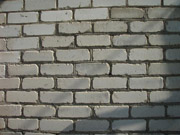
 - Step 3. Open the background image. Here we have a photo of a brick wall.
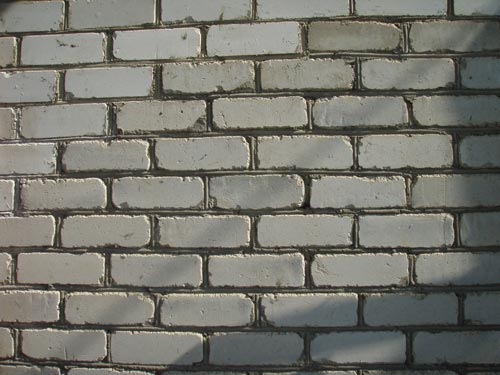
- Step 4. Select the command Filter –> AKVIS –> Chameleon – Make Collage. The Chameleonworkplace will open with the background image and the fragment loaded into the Image Window.
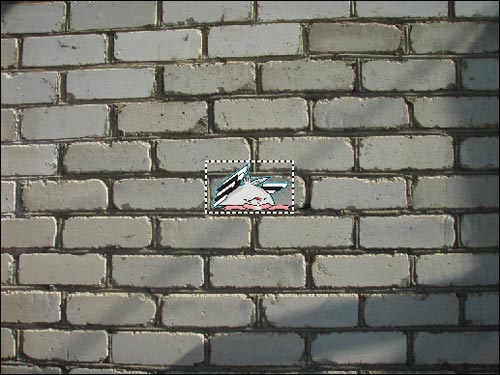
- Step 5. Select the Emersion mode from the drop-down menu Mode in the Settings Panel.
- Step 6. Use the Transform tool
 to adjust the size and the position of the chicken on the wall.
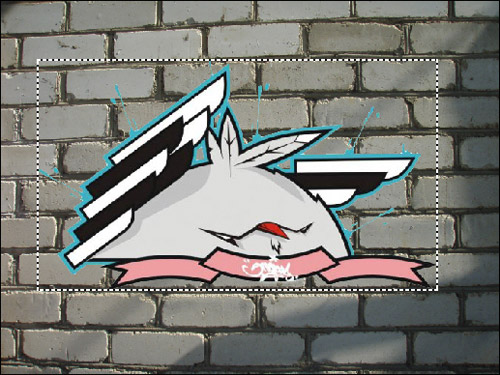
- Step 7. Select the colors of the wall. The selected colors will be replaced with the fragment’s areas.

- Step 8. Click on
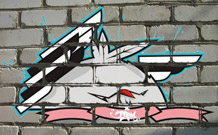
 to start image processing. Here is the result:
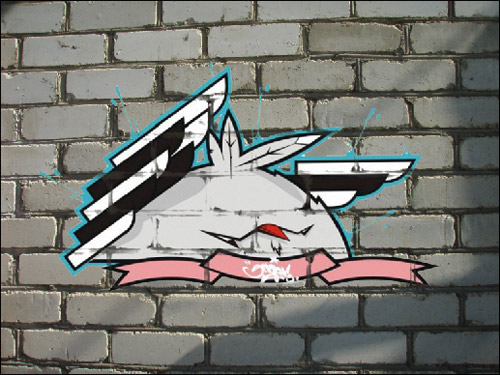
- Step 9. For the image to look more natural adjust the value of the Threshold parameter. In this case the optimum value is about 50-60.
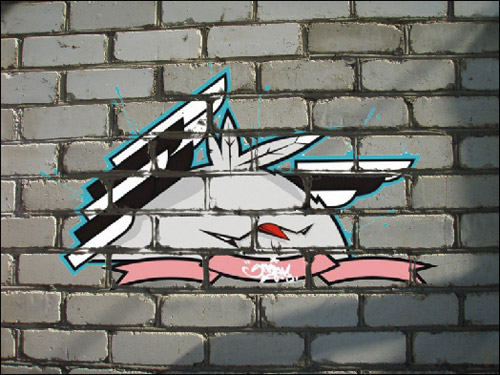 Now it looks more realistic.Apply the result. Click on
 to apply the effect and close the plug-in window. The result will be shown in the workspace of your photo editor.
 - Step 10. One more trick to give the image the final touch. In Step 4 one can see a shadow that faded after the processing with the plug-in. We can restore it using the Photoshop Burn Tool. Select this tool from the Toolbar and adjust its settings. Now left-click on the shadow and, keeping the Shift-key pressed to get a straight line, draw a line over the graffiti.Here is the final result:
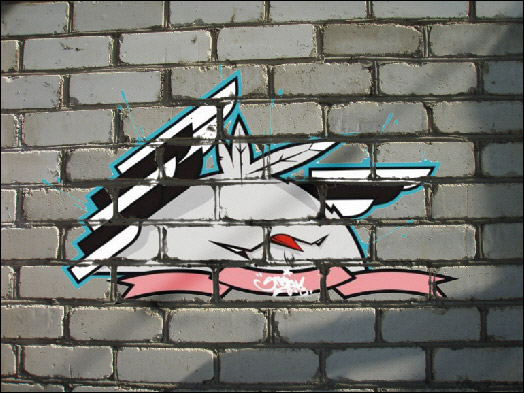 P. S.: No wall has been damaged as a result of this experiment!
No comments:
Post a Comment