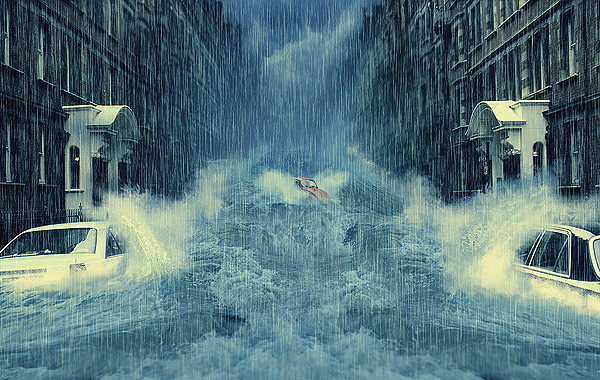
And your piece should now be coming together. Its still a little off, but there is a lot more to do, so lets move on!
Step 10
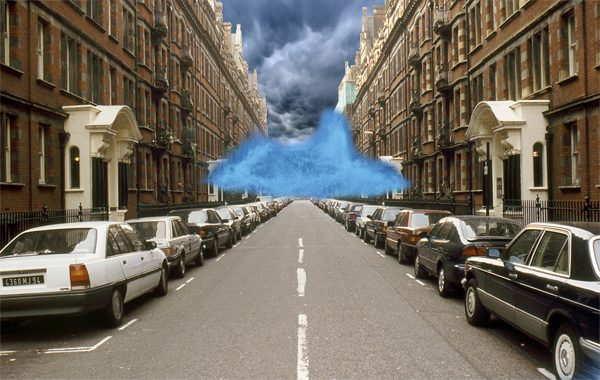
Time for the splashes. Now this is the hardest step of the tutorial, and requires a lot of patience, but persevere and you will find that patience is in fact a virtue (I know, silly right?).
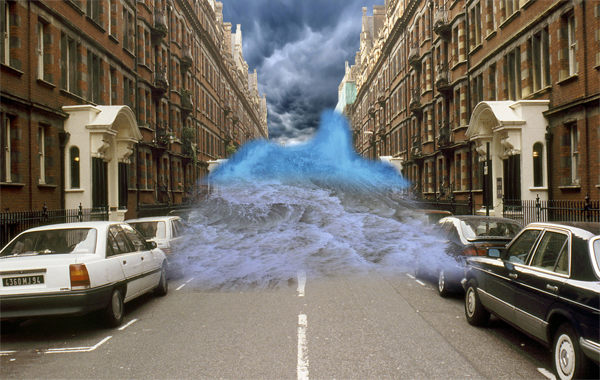
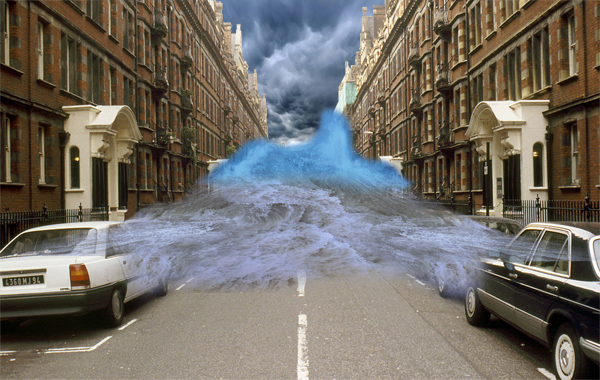
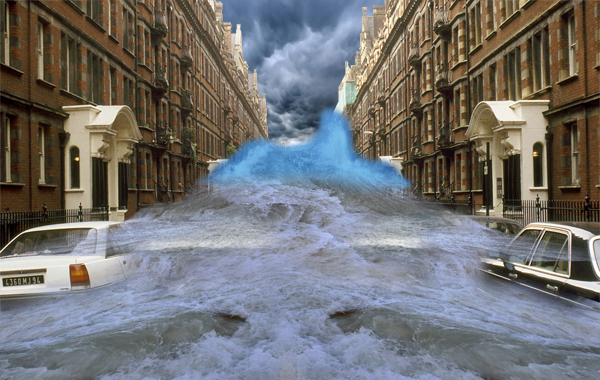
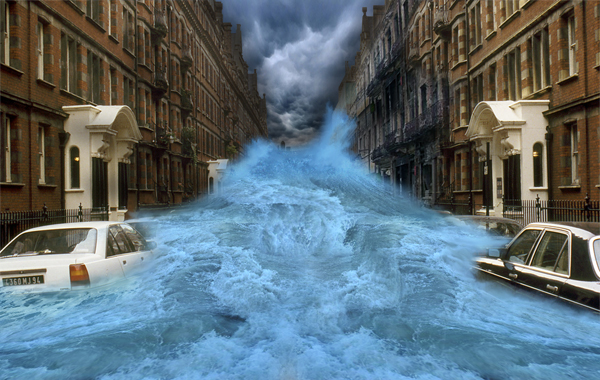
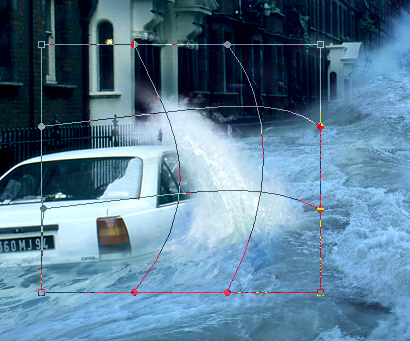
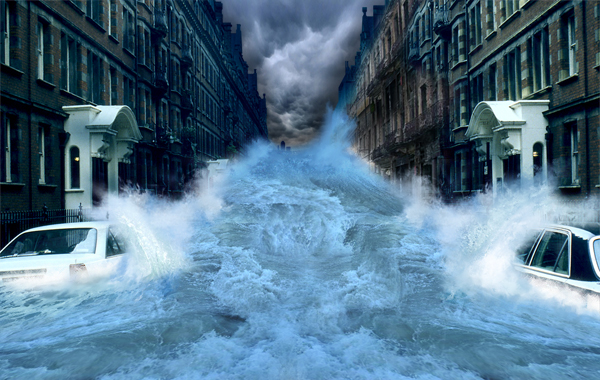
Open up the splash1 and splash2 images and carefully cut out the splashes themselves one by one. Place them onto the canvas. Now use the Warp Transformation (Edit > Transform > Warp) to get the arches you need to create effective splashes, and erase any unwanted areas.
You’ll need to do this for the two cars and for where the water hits the wall down the buildings of the street.
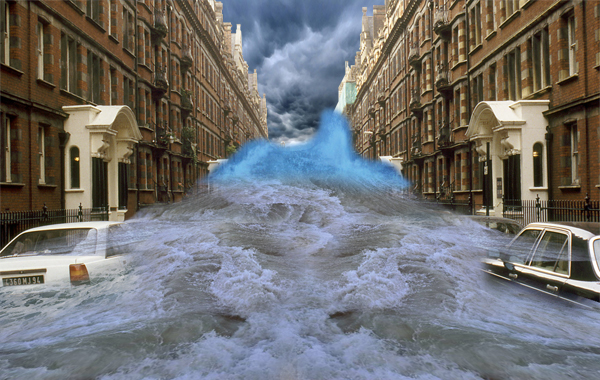
You might also benefit from smudging the edges of the splashes to give them more movement, as well as adding some white brushing to a new layer and smudging it. Now merge all your “splash” layers.
Step 11
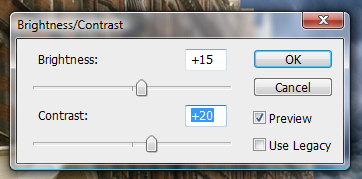
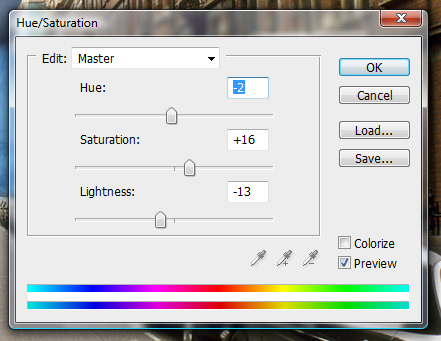
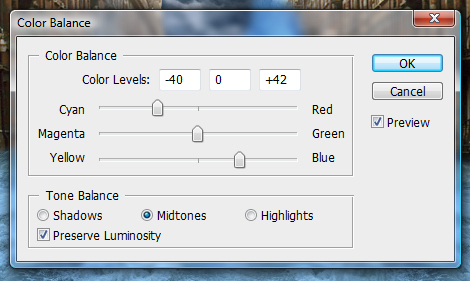
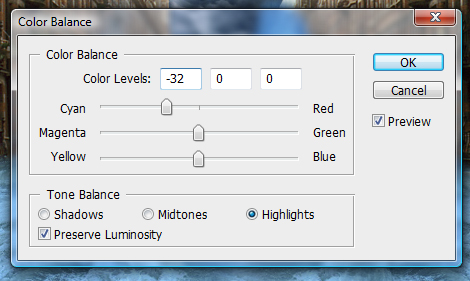
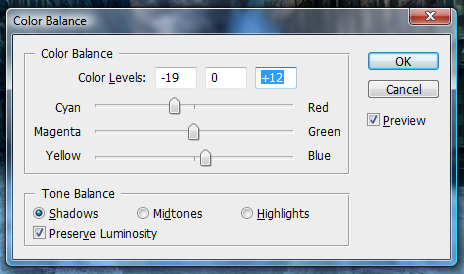
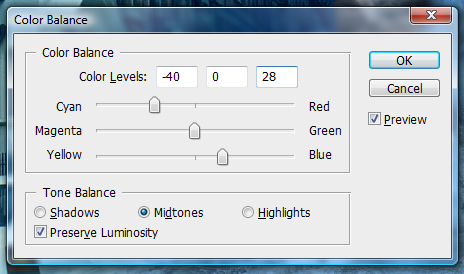
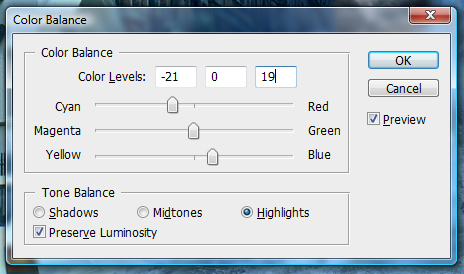
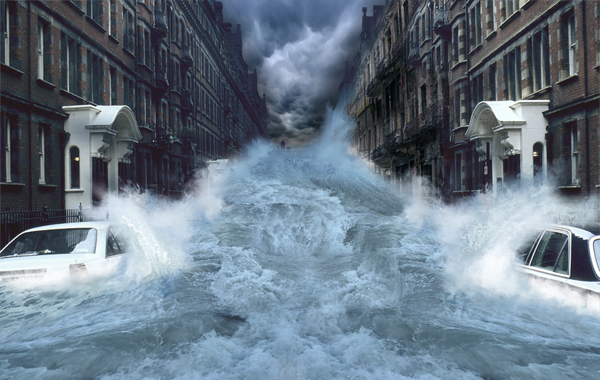
Getting there right? Now you need to do some tweaking to the colors of the image. This can mean anything from water, to the sky or the buildings. In my example, I think the water is a little too blue, so I’m going to desaturate it a little.
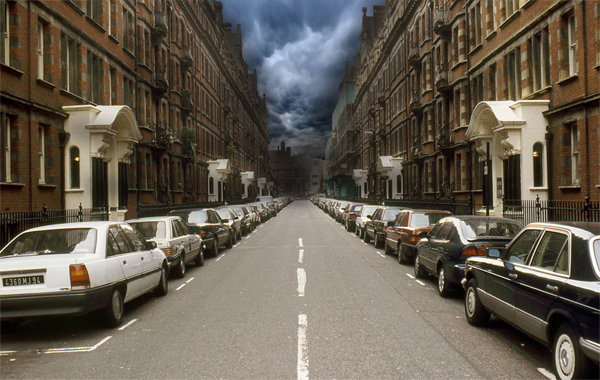
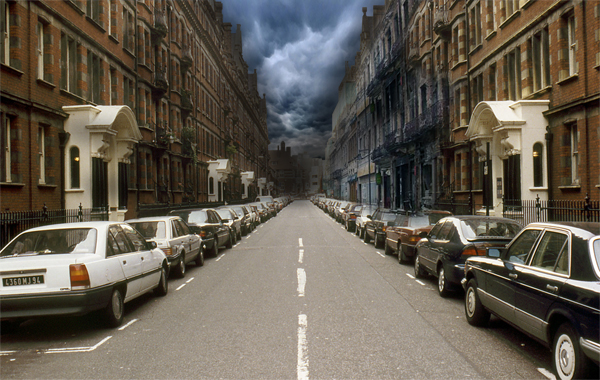
Basically use this step for any odd bits and bobs to tweak your image to make it look more streamlined. Be creative, and more importantly, make it look tidy. I lowered the saturation of the water a little, and added some red to the buildings.
Step 12
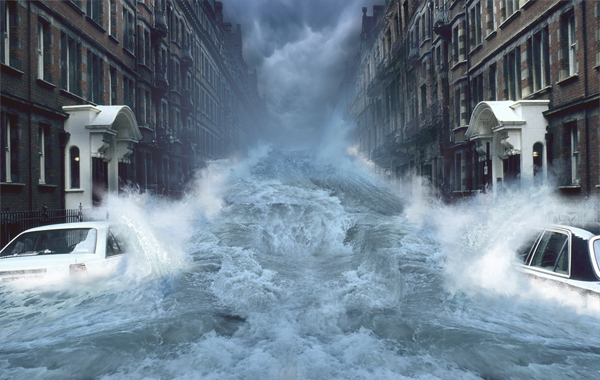
Now we’ll work on the fog. Its sounds daunting but its actually fairly simple to do. Select a blue color from your water using the Eyedropper Tool. Now select the Gradient Tool and use the following settings.
You will need to create a new layer underneath you’re “water” layer and create the gradient so it blocks out any backdrop behind the water.
Duplicate the layer (Command + J) and place it on top of your water layer, at about 30% opacity. Set this layer to Multiply.
Step 13
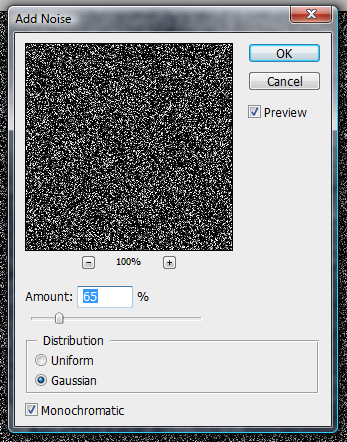
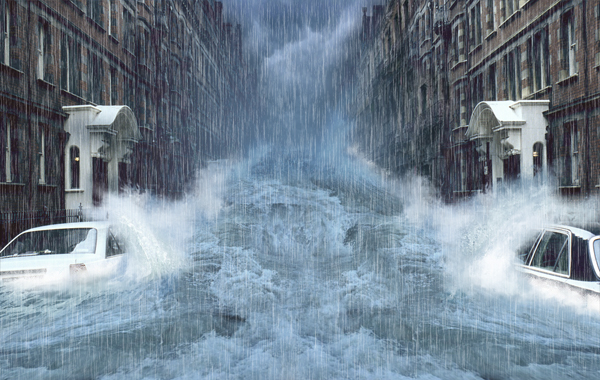
This next step is to add rain. There are lots of tutorials on the web that show how to create rain. Here is onethat goes into great detail, which you could check out. We’ll keep it relatively simple in this tutorial though. First, create a new layer and fill it with black. Go to Filter > Noise > Add Noise and use these settings.
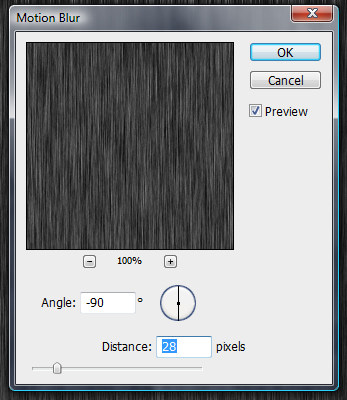
Then Filter > Blur > Motion Blur> and use these settings.
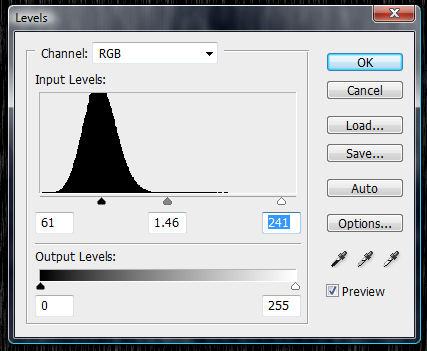
Then Image > Adjustments > Levels and use the following settings.
Set the Layer to Screen and use a soft eraser to erase the bottom and top of the Layer, then go to Edit > Transform > Free Transform the “rain” Layer so it covers the whole screen.
Step 14
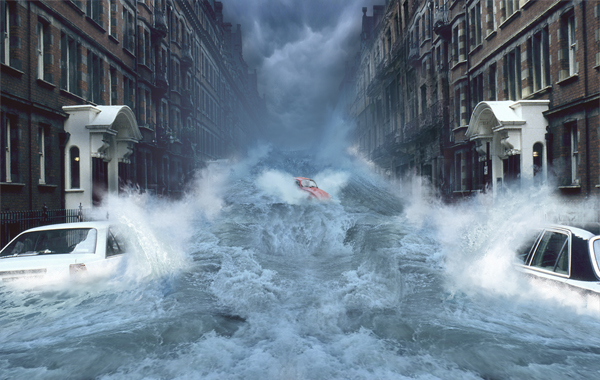
It looks a little bit empty in the middle of the water doesn’t it?
Open up the car image and place it somewhere in the distance, underneath the “fog” layer. Resize the images and erase the edges carefully and use the splash1 image to give some life to the car.
Step 15
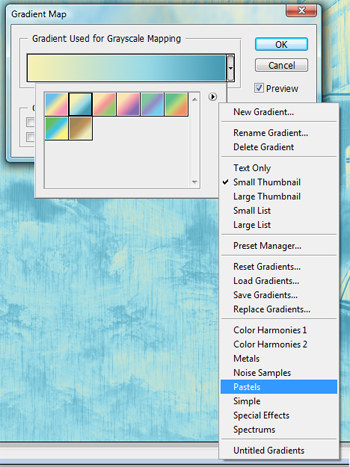
Now is the fun part. You’ll need to create a few gradient maps first. Click the Adjustment layer button located at the bottom of your layers window and select the Gradient Map option. Then Click the little arrow in the top-right of the box and select Pastels as shown.
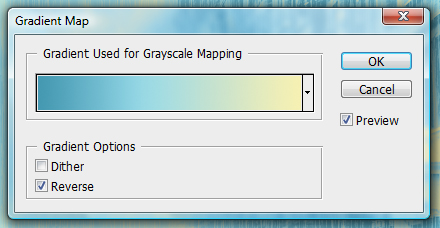
Use the following settings. Finally, set the layer to Multiply at 100%.
Conclusion
Now its just a case of adding depth and a few other adjustments. Select the Blur Tool at 20% strength, then start blurring the “backdrop” layer in the distance and on the rooftops.
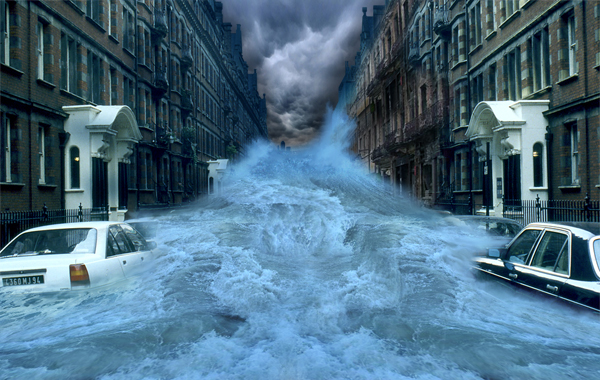
Create a new layer and go to Image > Apply Image and then go to Filter > Sharpen > Sharpen, which gives the image a more detailed and stylized feel. Now you’re done!

No comments:
Post a Comment